
Table of Contents
ToggleWall panels have moved from commercial spaces into residential homes, offering a faster, cleaner alternative to traditional drywall finishing. Floor and Decor, primarily known for flooring materials, stocks a growing selection of wall panel products designed for DIY installation. These panels provide textured finishes, moisture resistance, and design flexibility that standard paint or wallpaper can’t match. Whether covering dated tile in a bathroom or adding dimension to a living room accent wall, wall panels deliver professional-looking results without the mess of tiling or the curing time of plaster.
Key Takeaways
- Floor and Decor wall panels come in three main types—PVC composite, laminated MDF, and rigid vinyl planks—each suited for different moisture levels and room applications.
- Wall panels can be installed in a weekend without taping, mudding, or grout curing, making them ideal for DIYers looking to cover problem surfaces like cracked drywall or outdated tile.
- Proper surface preparation and 48-hour acclimation are critical to prevent expansion, contraction, and installation failure with floor and decor wall panels.
- PVC and vinyl panels resist moisture and are essential for bathrooms, kitchens, and basements, while MDF panels work best in dry areas like bedrooms and living rooms.
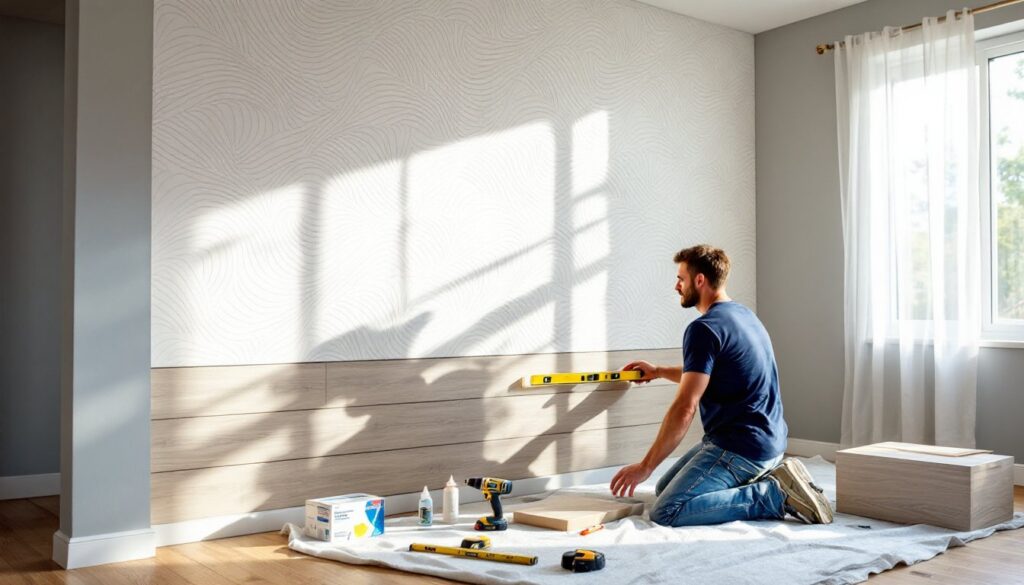
- Installing wall panels requires only basic tools and skills—measure, cut, apply adhesive, and secure with nails or click-locks—making professional-looking results achievable for most homeowners.
- With routine cleaning and annual seam checks, properly maintained wall panels last 15 to 20 years, outlasting multiple paint jobs on traditional drywall.
What Are Floor and Decor Wall Panels?
Floor and Decor’s wall panels are engineered surface materials designed for vertical application. Most fall into three categories: PVC composite panels, laminated MDF, and rigid vinyl planks repurposed from their flooring lines.
PVC composite panels are waterproof, lightweight sheets (typically 8 to 16 square feet per panel) with interlocking edges. They’re engineered to resist mold and can be installed directly over existing drywall, cement board, or even old tile if the surface is flat and sound. These come in wood-look, marble, and subway tile patterns.
Laminated MDF panels mimic shiplap, beadboard, or reclaimed wood planks. They’re not waterproof, moisture will cause swelling, so they’re suited for dry areas like bedrooms, living rooms, or dining spaces. Most measure ⅜ to ½ inch thick and install with panel adhesive and finish nails.
Rigid vinyl planks are the same luxury vinyl plank (LVP) flooring sold for floors, but marketed for accent walls. They’re fully waterproof, click-lock systems, and run around 4 to 9mm thick. They work well in bathrooms, laundry rooms, and mudrooms where moisture is a concern.
Types of Wall Panels Available at Floor and Decor
Floor and Decor rotates inventory seasonally, but the core product types remain consistent. Here’s what to expect on most visits:
Shiplap and tongue-and-groove panels: Laminated or prefinished MDF with authentic groove details. Widths range from 3 to 7 inches per plank, and lengths hit 8 feet for most SKUs. These install horizontally or vertically depending on the look.
3D textured panels: PVC sheets embossed with geometric patterns, wave designs, or subway tile layouts. These typically come in 2×4-foot or 4×8-foot sheets and are paintable (use a bonding primer designed for PVC). They add depth without the weight of real tile or stone.
Faux brick and stone veneer: Thin polyurethane or PVC panels molded from real brick or stacked stone. They weigh a fraction of real masonry and can be cut with a utility knife or fine-tooth saw. Most include corner pieces to wrap edges cleanly.
Waterproof luxury vinyl planks: The same click-lock LVP sold for floors, marketed for accent walls. These deliver realistic wood grain or stone looks with 12mil to 20mil wear layers. They’re ideal for wet areas and install without adhesive if the wall is vertical and plumb.
Not every Floor and Decor location stocks all panel types. Call ahead or check inventory online before driving out.
Benefits of Using Wall Panels for Your Home
Wall panels simplify projects that would otherwise demand drywall finishing skills or tile-setting experience. Here’s why they’re worth considering:
Faster installation: Most panel systems go up in a weekend. No taping, mudding, sanding, or grout curing. For DIYers short on time, that’s a major advantage.
Moisture resistance: PVC and vinyl panels handle humidity better than drywall or paint. They’re a smart choice for basements, bathrooms, and kitchens where moisture can cause paint to peel or drywall to sag.
Coverage of problem surfaces: Panels can hide cracked plaster, damaged drywall, or outdated tile without demolition. As long as the substrate is structurally sound and relatively flat (within ⅛ inch over 8 feet), panels will adhere or lock into place.
Design flexibility: Panels come in finishes that mimic materials you wouldn’t install on walls otherwise, reclaimed barn wood, Carrara marble, weathered shiplap. This opens up design options without the cost or weight of real materials.
Lower skill threshold: If you can measure, cut, and apply construction adhesive, you can install most panel systems. Tile or plaster work requires more specialized tools and techniques. Many homeowners find interior design inspiration through project galleries showcasing creative panel applications.
Best Rooms and Applications for Wall Panels
Not all panels suit all spaces. Match the material to the room’s moisture level and the look you’re after.
Bathrooms and wet areas: Use PVC composite or rigid vinyl panels only. MDF-based products will swell and delaminate when exposed to steam or splashes. Install panels over cement board or water-resistant drywall (purple board). For shower surrounds, check local building codes, some jurisdictions require specific backer materials or waterproof membranes behind panels, even if the panels themselves are waterproof.
Kitchens: Vinyl or PVC panels work well as backsplashes or accent walls. They’re easier to clean than painted drywall and resist grease splatter. If installing behind a range, verify the panel’s heat tolerance. Most PVC panels are rated to 140°F, which is fine for general kitchen use but may soften near high-BTU gas ranges without adequate clearance.
Living rooms and bedrooms: MDF shiplap or textured 3D panels add dimension without moisture concerns. These rooms stay dry, so you can prioritize aesthetics over water resistance. Accent walls behind beds or sofas are popular applications. For ideas on balancing texture and color, home decor trends often highlight panel-based designs.
Basements: PVC or vinyl panels handle the occasional dampness that basements experience. Avoid MDF unless you’ve solved all moisture issues and confirmed the space stays dry year-round. Panels can go over foam insulation board (use longer screws or adhesive rated for foam), but don’t use them to hide active water problems, fix the source first.
Laundry rooms and mudrooms: Waterproof panels handle wet coats, dripping boots, and washer overflow. They’re easier to wipe down than painted drywall and hold up better in high-traffic zones.
How to Install Floor and Decor Wall Panels
Installation methods vary slightly by panel type, but the general workflow stays consistent. Always start with proper prep, most panel failures trace back to poor surface preparation or skipped acclimation.
Surface Preparation
Panels require a clean, flat, and sound substrate. Remove loose paint, wallpaper, or flaking finishes. Fill large holes or cracks with joint compound or patching plaster and sand smooth. If the wall is more than ⅛ inch out of flat over 8 feet, shim low spots or sand high points.
For installations over tile, ensure tiles are firmly bonded. Tap each tile with a rubber mallet, hollow sounds indicate delamination. Re-adhere or remove loose tiles before proceeding.
Acclimate panels to the room for 48 hours before cutting or installing. This lets the material adjust to ambient temperature and humidity, reducing expansion or contraction after installation.
Tools and Materials
You’ll need:
- Tape measure and level (a 4-foot or 6-foot level works better than a 2-footer for checking plumb)
- Circular saw or miter saw (fine-tooth blade for clean cuts: a jigsaw works for notches or curves)
- Utility knife (scores PVC and vinyl: snap along the score line)
- Caulking gun and panel adhesive (use a product rated for your panel material: general construction adhesive works for most)
- Finish nailer (18-gauge brad nailer for MDF panels: optional for PVC if using adhesive alone)
- Safety gear: Safety glasses, dust mask (cutting MDF generates fine dust), work gloves, and ear protection if using power saws.
Step-by-Step Installation
-
Measure and mark layout lines. Use a level to draw plumb or horizontal reference lines. Starting with a level first course prevents compounding errors as you work up or across the wall.
-
Cut panels to size. Measure twice, cut once. For PVC or vinyl, score with a utility knife and snap. For MDF, use a miter saw or circular saw with a fine-tooth blade to avoid tear-out.
-
Apply adhesive. Run a continuous ¼-inch bead along the back perimeter of the panel, then add zigzag beads across the field. Don’t skimp, panels need full contact to prevent telegraphing substrate imperfections.
-
Press and fasten panels. Press the panel firmly into place, then secure with finish nails (if using MDF) or allow adhesive to set (for PVC/vinyl). For click-lock vinyl planks, tilt and lock the tongue into the groove: no adhesive needed on vertical applications if the wall is plumb.
-
Work in courses. Install row by row (or column by column), checking level and plumb every few pieces. Stagger seams if using plank-style panels, offset each row by at least 6 inches to avoid a stacked look.
-
Trim and finish edges. Use matching trim pieces, J-channel, or paintable caulk to finish edges, corners, and transitions. For MDF panels, fill nail holes with wood filler and touch up with paint if needed.
Special Considerations
Outlets and switches: Turn off power at the breaker. Remove cover plates and mark outlet locations on the panel. Cut openings with a jigsaw or utility knife, keeping cuts ⅛ inch smaller than the opening so the cover plate hides the gap. Use box extenders if panels add thickness that pushes outlets below code-required depth (NEC requires receptacles to sit flush with or protrude from the finished surface).
Inside and outside corners: Use corner trim for clean transitions. Miter cuts work for MDF panels if you have a miter saw and confidence in your angles. PVC corner molding covers less-than-perfect cuts.
Professional help: For large installations (full rooms), a second pair of hands speeds up the job and improves accuracy. If the project involves structural changes, electrical work, or plumbing relocation, hire licensed professionals.
Maintenance and Care Tips for Long-Lasting Results
Wall panels need less maintenance than tile or painted drywall, but they’re not set-and-forget.
Cleaning: Use a damp microfiber cloth and mild dish soap for routine cleaning. Avoid abrasive scrubbers on PVC or vinyl, they’ll dull the finish. For MDF panels, wring out the cloth thoroughly: excess water can seep into seams and cause swelling.
Moisture management: Even waterproof panels need proper ventilation. Run exhaust fans during and after showers to prevent condensation buildup behind panels. Check caulk lines annually and re-seal if gaps appear.
Damage repair: Small scratches in PVC can be buffed out with a melamine sponge. Deeper gouges may need color-matched filler or a replacement panel. MDF panels can be patched with wood filler and repainted if the finish is painted or primed.
Seam monitoring: Expansion and contraction can open seams over time, especially in rooms with wide temperature swings. Check seams every six months. If gaps exceed ⅛ inch, apply a bead of paintable caulk (for MDF) or clear silicone (for PVC/vinyl).
Avoid harsh chemicals: Bleach, acetone, and ammonia-based cleaners can discolor or damage panel surfaces. Stick with pH-neutral cleaners designed for vinyl or laminate. Remodeling tutorials often include product-specific care guides worth reviewing.
Wall panels installed correctly and maintained properly should last 15 to 20 years or more, matching or exceeding the lifespan of painted drywall without the need for repainting.
Conclusion
Floor and Decor’s wall panel selection gives DIYers a practical way to upgrade walls without advanced skills or prolonged timelines. Match the panel type to the room’s moisture level, prep the surface properly, and follow installation steps carefully. The result is a durable, professional-looking finish that holds up to daily use and simplifies future maintenance.